Original: $8.95
-70%$8.95
$2.68The Story
DESCRIPTION
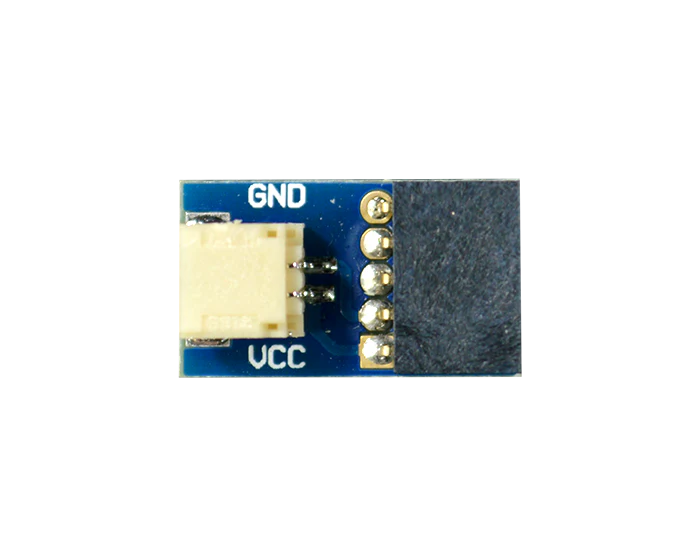
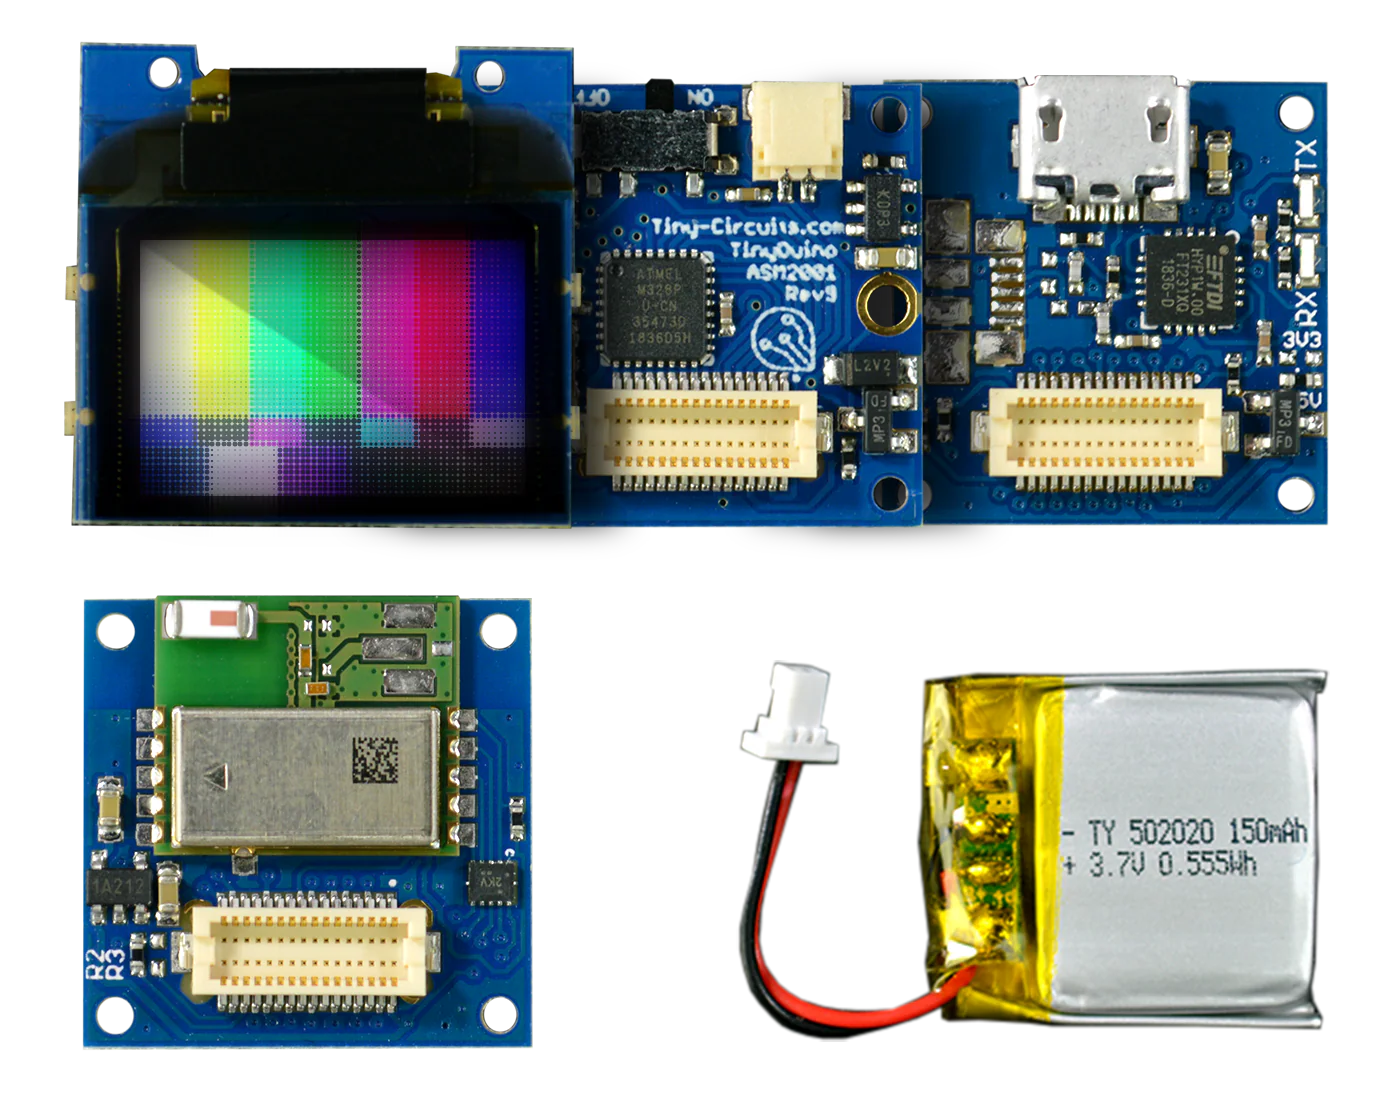
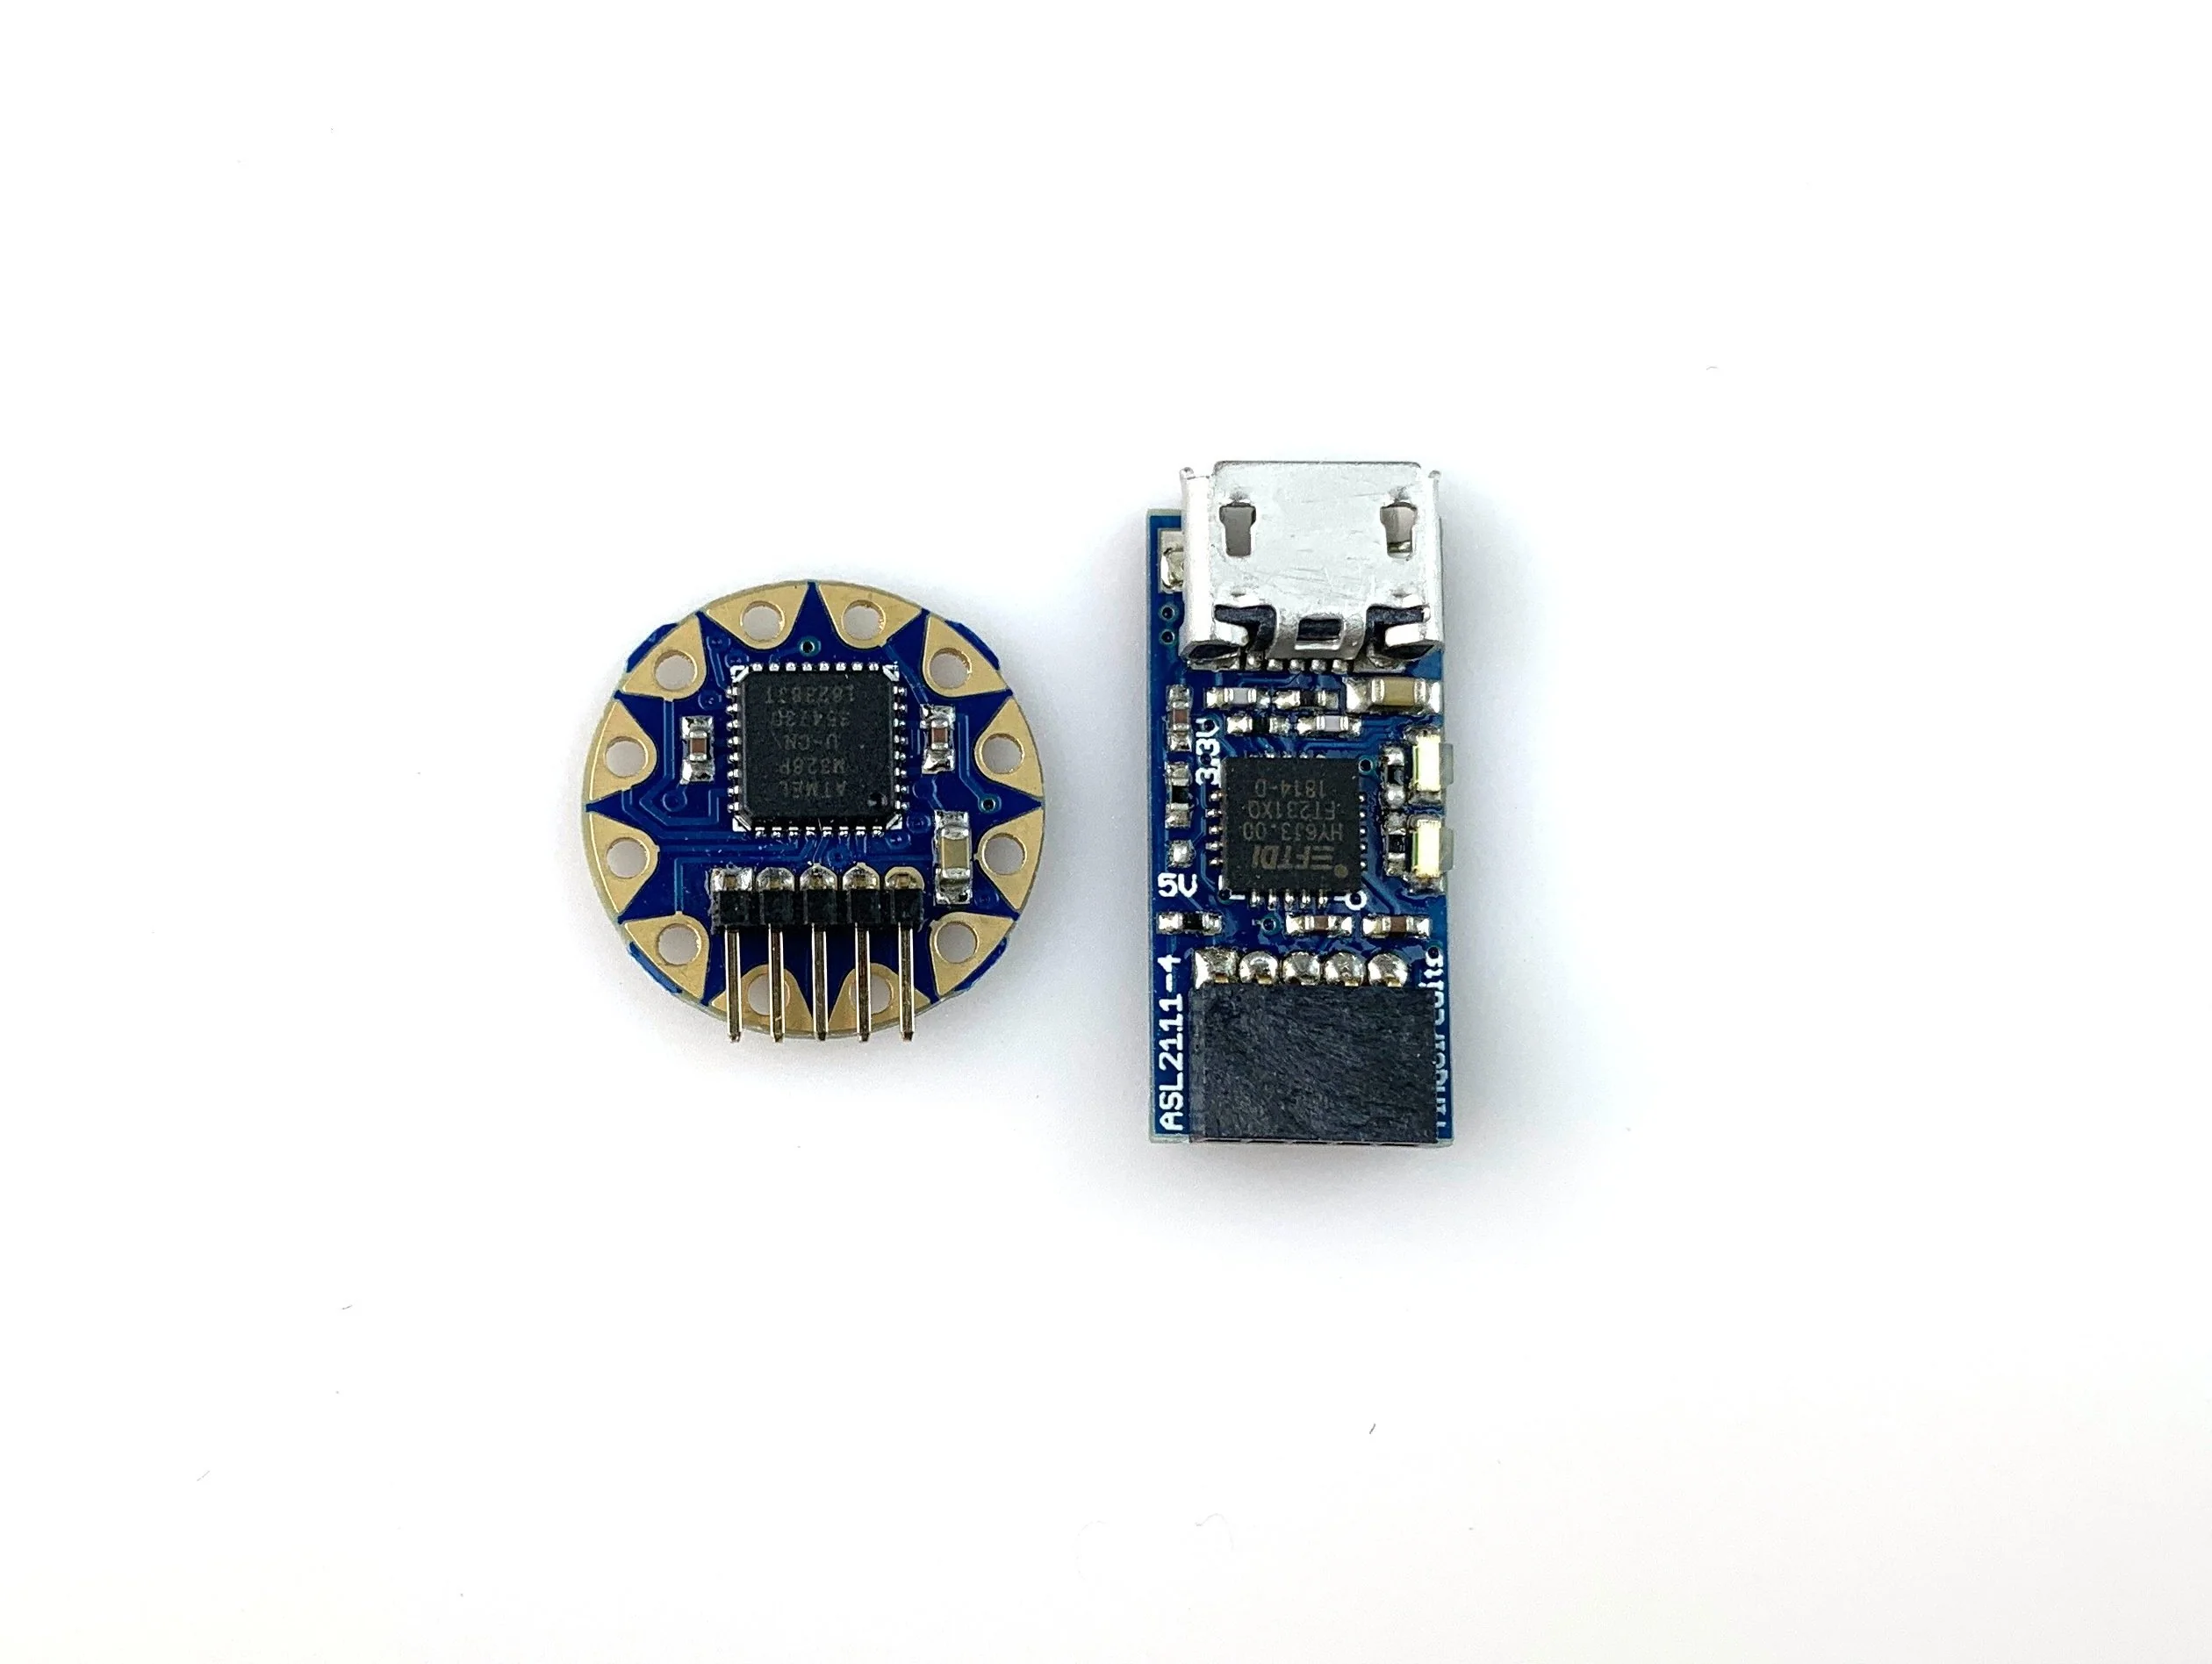
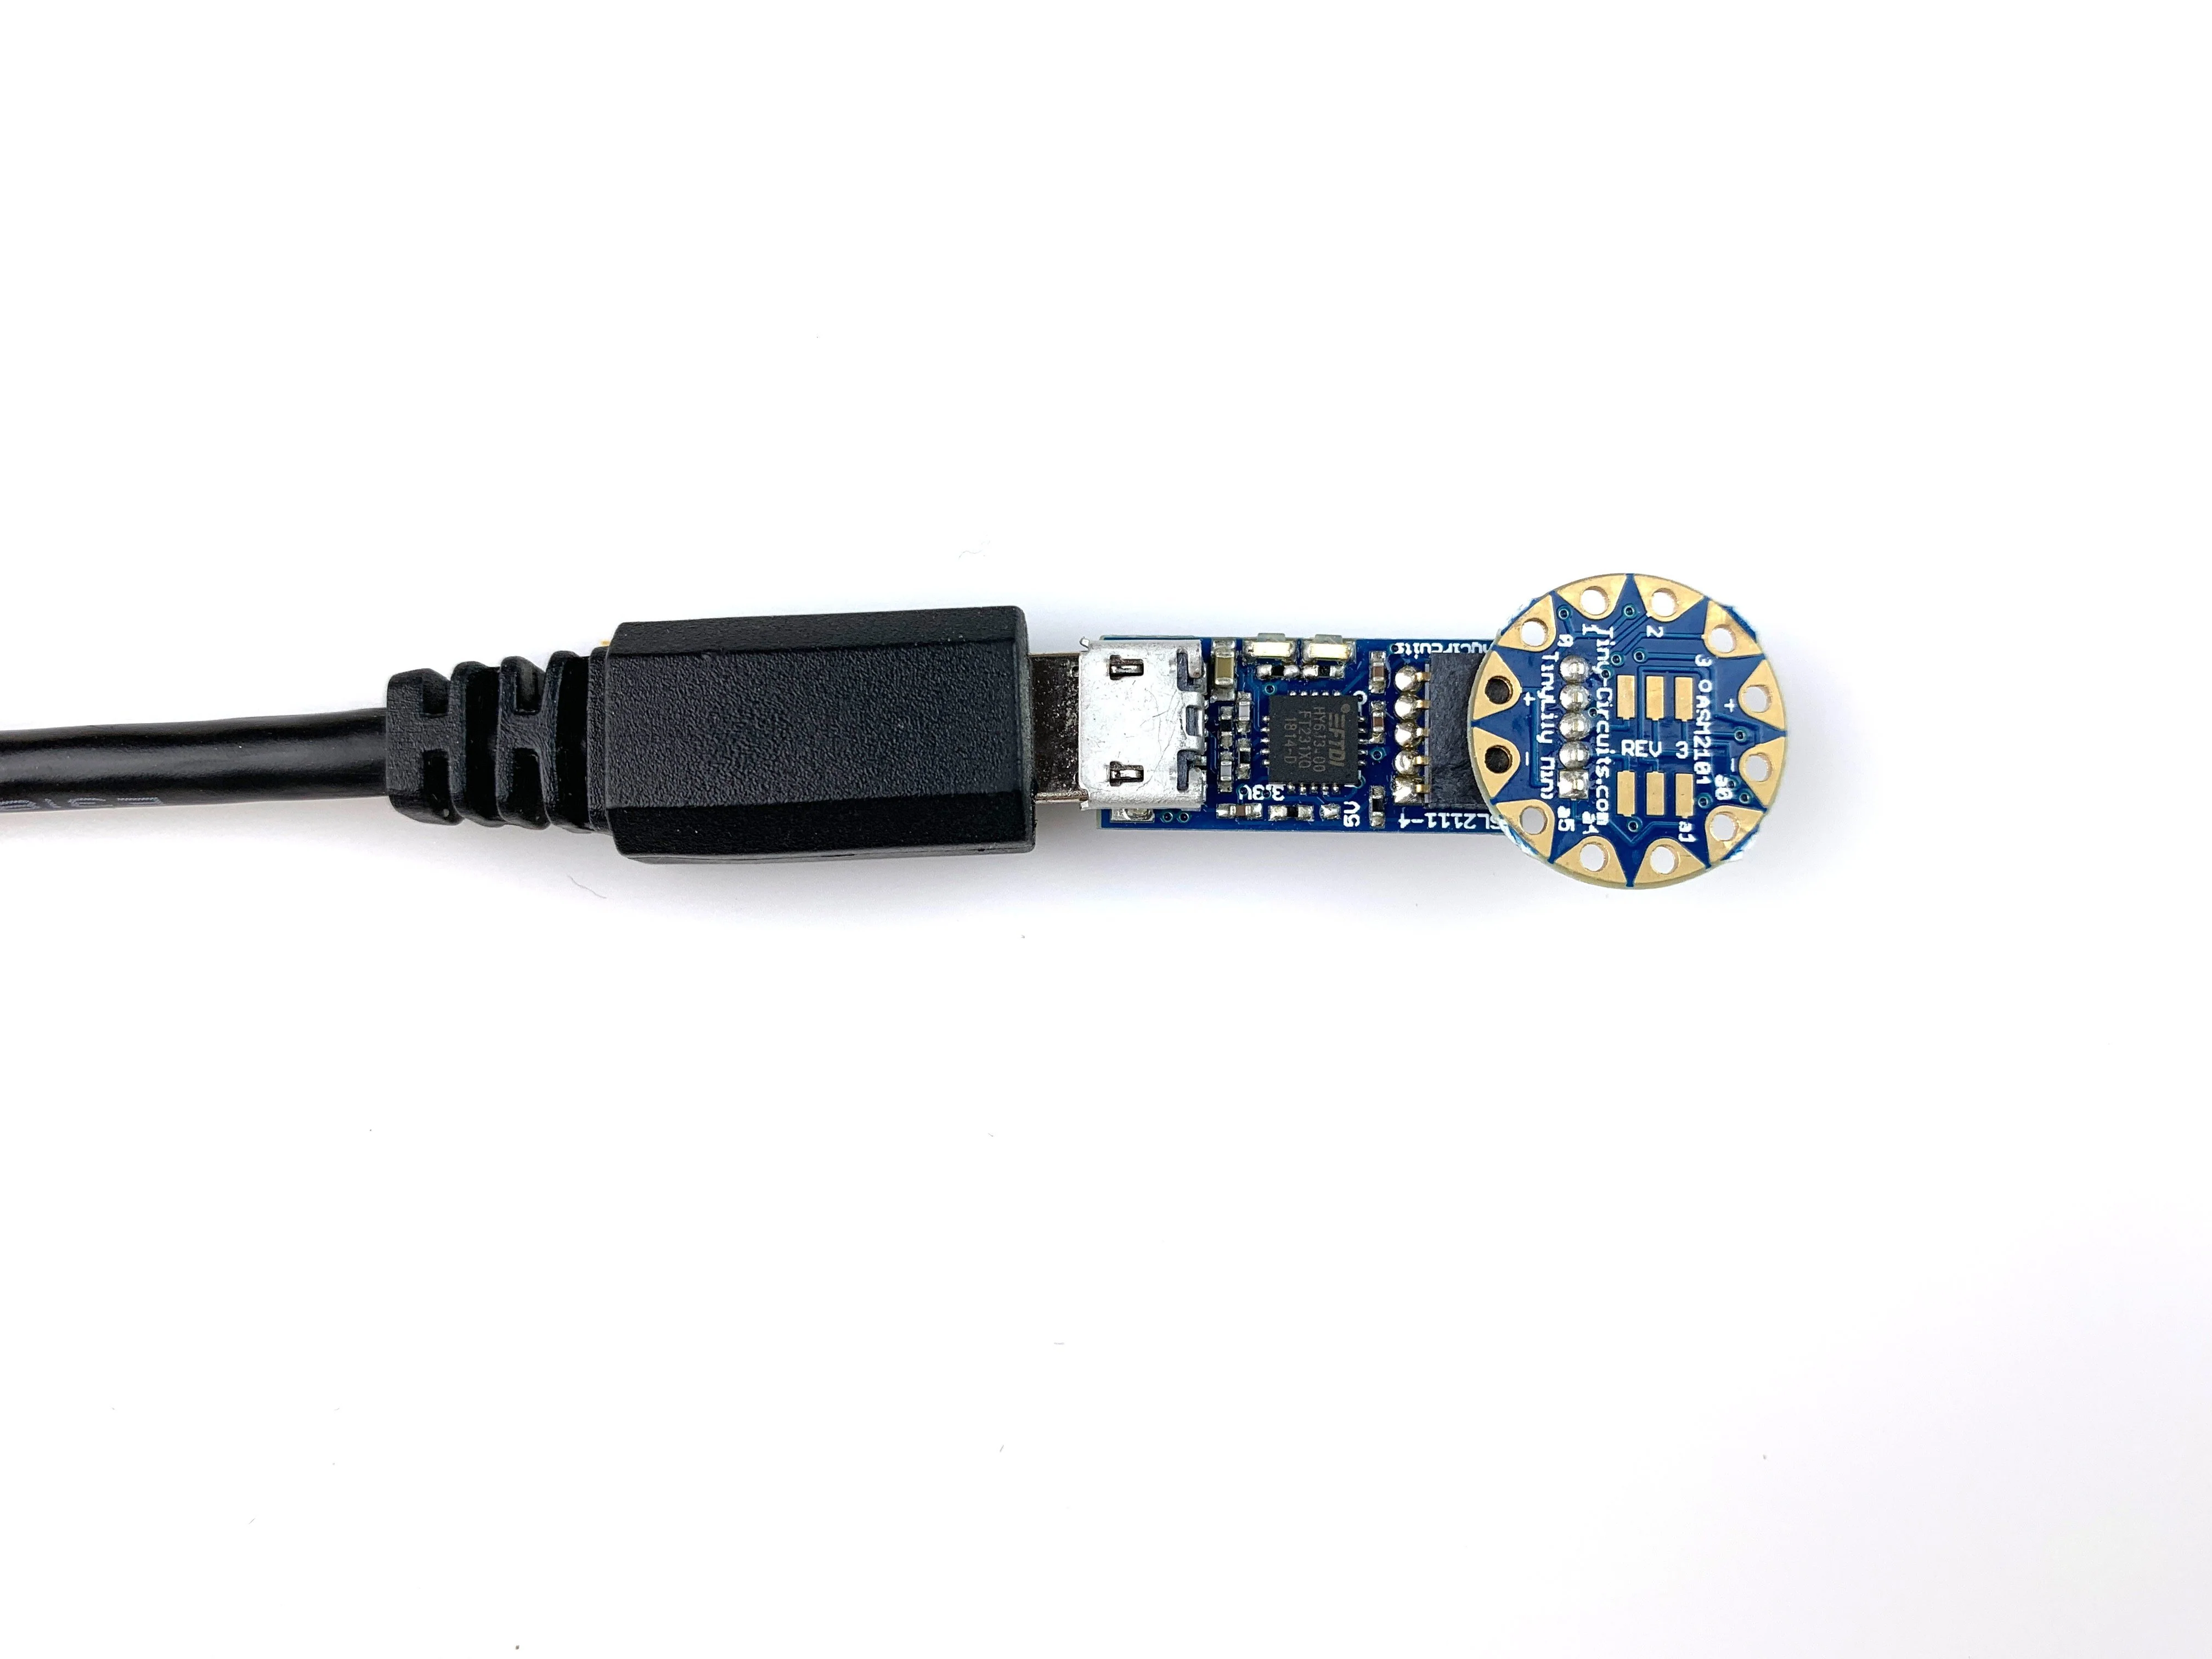
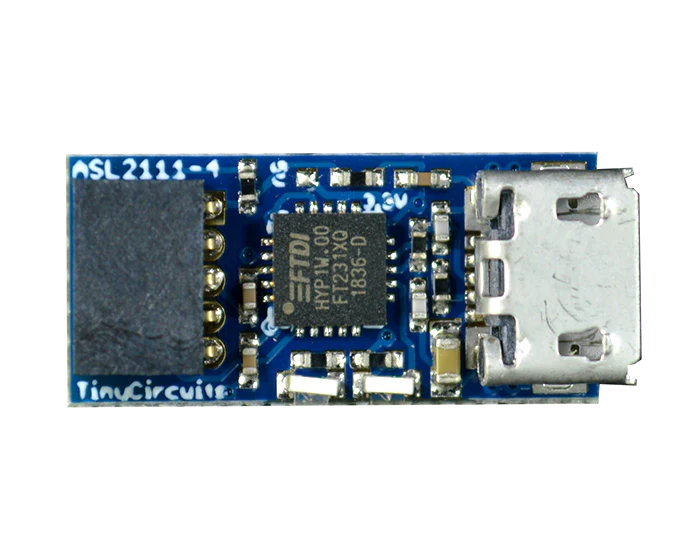
The TinyLily Mini USB Adapter adds USB support for the TinyLily Mini via a micro-USB connector and uses the very popular FTDI USB to Serial converter IC (as used on most standard Arduino models). A small 5-pin plug allows connection to the TinyLily Mini programming header. Using this board allows you to download new sketches via the Arduino IDE to your TinyLily Mini, and also allows you to add USB communication capabilities to your projects.
This board also uses the DTR line from the FTDI IC to support the auto-reset function when a new sketch is downloaded to the processor – eliminating the need a reset button on the TinyLily Mini.
Power is also supplied from this board to the TinyLily Mini, and there is a resistor jumper option on the board to select either 5 Volts or 3.3 Volts (this is set to 3.3V by default).
TECH SPECS
- FTDI based USB Com port
- USB 2.0 Full Speed Compatibility
- Entire USB protocol handled on the chip - No USB-specific firmware programming required.
- Micro-USB Receptacle
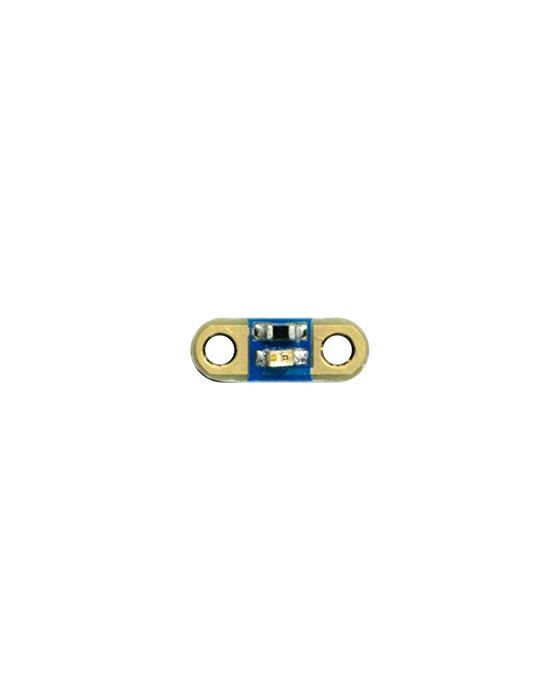
- Transmit and receive LEDs
- Washable
- Supplies +3.3V power rail to the TinyLily, max current 50mA
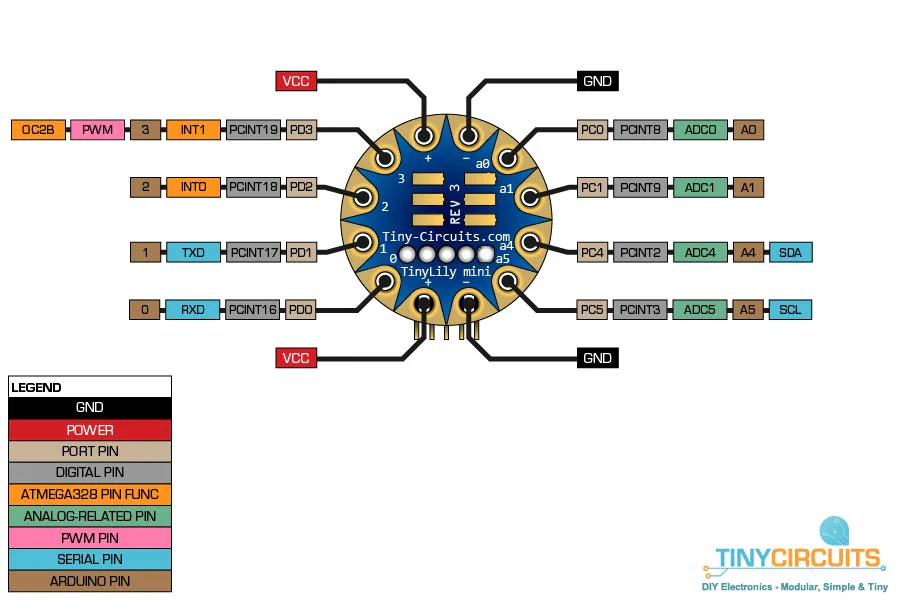
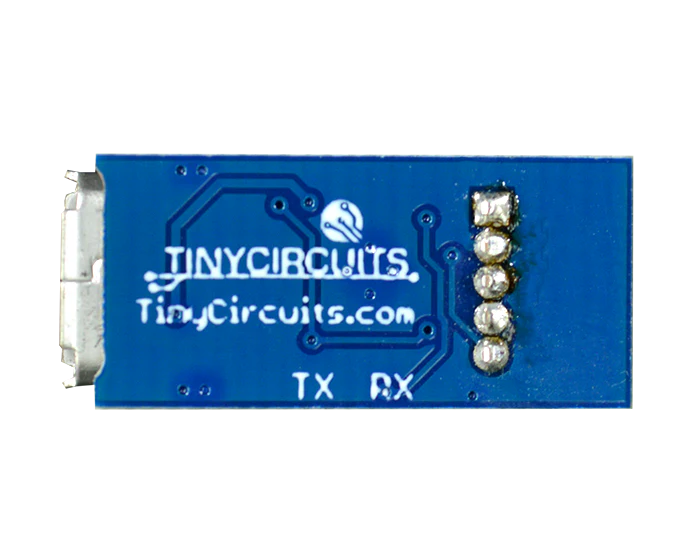
Pins Used
- 0 - USB_RX: The signal is the UART receive on the TinyDuino from the USB
- 1 - USB_TX: The signal is the UART transmit from the TinyDuino to the USB
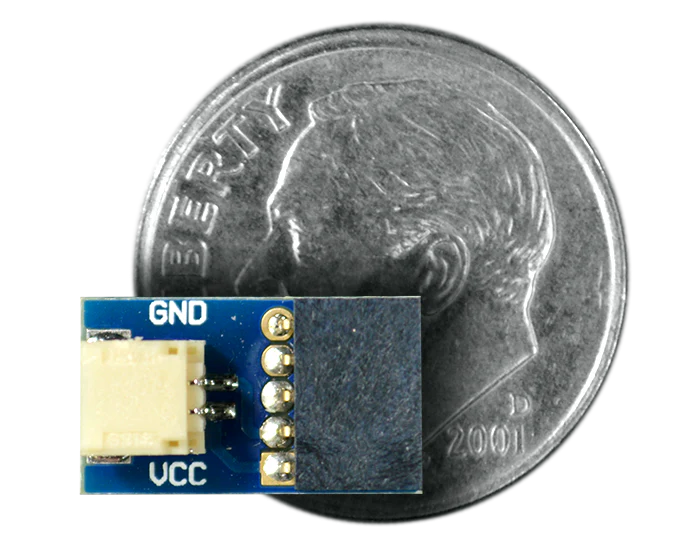
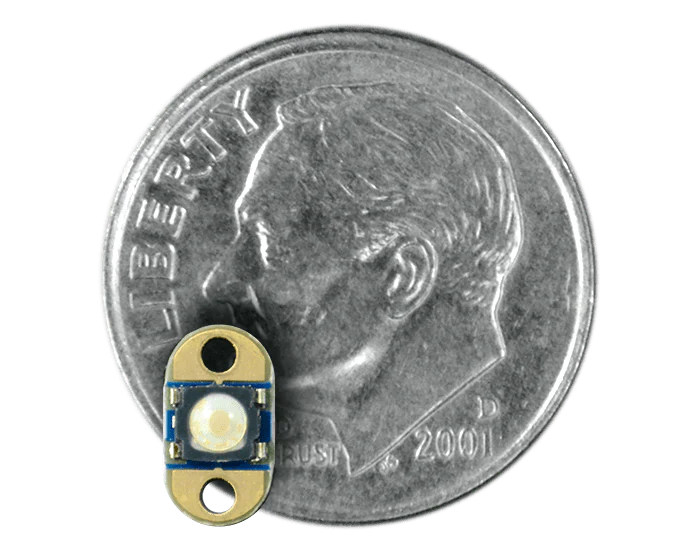
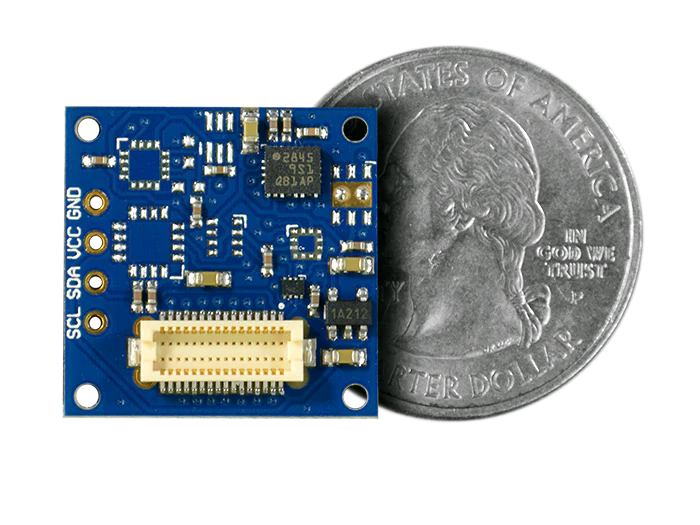
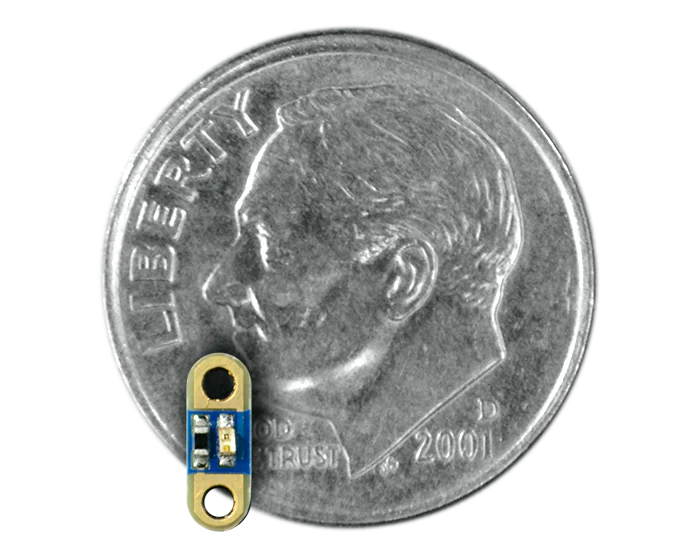
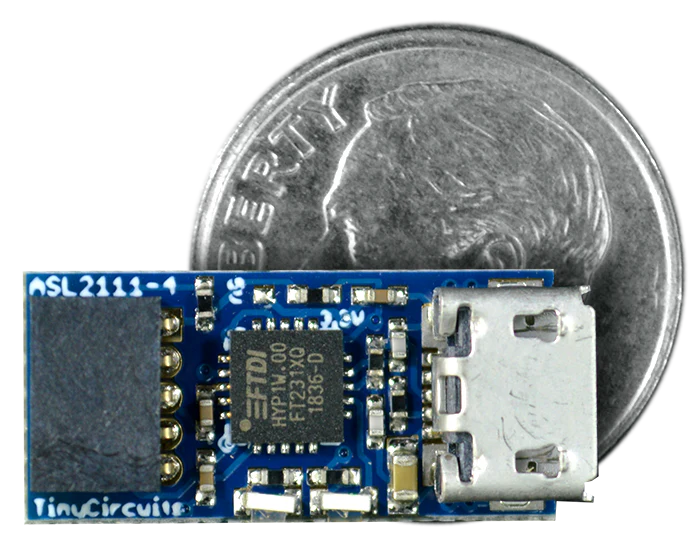
Dimensions
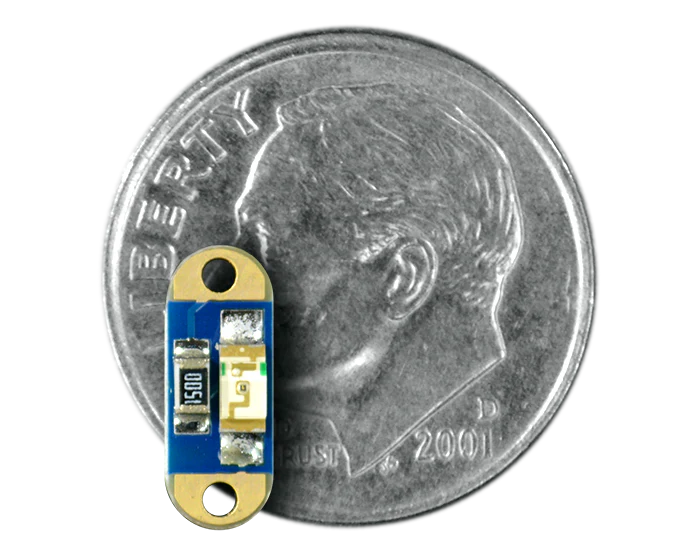
- 19mm x 9mm (0.75 inches x .354 inches)
- Max Height: 3.35mm (0.132 inches)
- Weight: .72 grams (.03 ounces)
NOTES
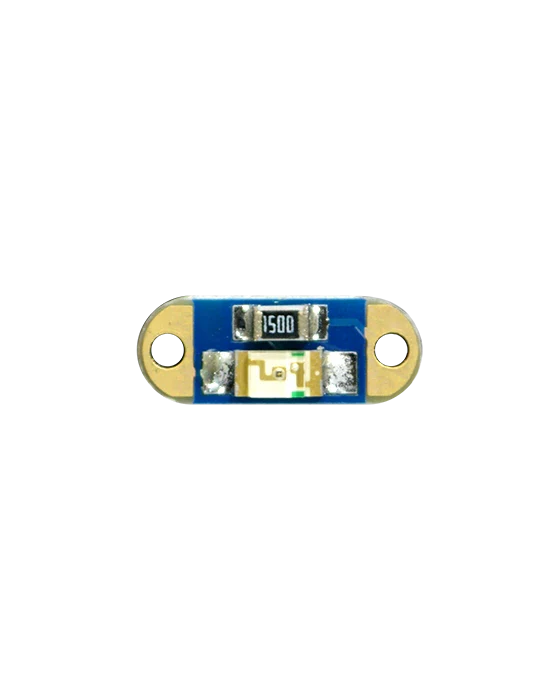
- By default this board will supply +3.3V to the TinyDuino stack. It is possible to change this to only output 5.0V instead (with a max current of 50mA), by removing moving the 0 ohm resistor from the 3.3V position to the 5V position (requires advanced soldering skills).
- Rev 4 and later versions of the board have the receive and transmit LEDs, Rev 3 and earlier do not have these LEDs
DOWNLOADS
LEARN
Details & Craftsmanship
Every detail has been carefully considered to bring you the perfect product.
Details & Craftsmanship
Every detail has been carefully considered to bring you the perfect product.

Details & Craftsmanship
Every detail has been carefully considered to bring you the perfect product.
Description
DESCRIPTION
The TinyLily Mini USB Adapter adds USB support for the TinyLily Mini via a micro-USB connector and uses the very popular FTDI USB to Serial converter IC (as used on most standard Arduino models). A small 5-pin plug allows connection to the TinyLily Mini programming header. Using this board allows you to download new sketches via the Arduino IDE to your TinyLily Mini, and also allows you to add USB communication capabilities to your projects.
This board also uses the DTR line from the FTDI IC to support the auto-reset function when a new sketch is downloaded to the processor – eliminating the need a reset button on the TinyLily Mini.
Power is also supplied from this board to the TinyLily Mini, and there is a resistor jumper option on the board to select either 5 Volts or 3.3 Volts (this is set to 3.3V by default).
TECH SPECS
- FTDI based USB Com port
- USB 2.0 Full Speed Compatibility
- Entire USB protocol handled on the chip - No USB-specific firmware programming required.
- Micro-USB Receptacle
- Transmit and receive LEDs
- Washable
- Supplies +3.3V power rail to the TinyLily, max current 50mA
Pins Used
- 0 - USB_RX: The signal is the UART receive on the TinyDuino from the USB
- 1 - USB_TX: The signal is the UART transmit from the TinyDuino to the USB
Dimensions
- 19mm x 9mm (0.75 inches x .354 inches)
- Max Height: 3.35mm (0.132 inches)
- Weight: .72 grams (.03 ounces)
NOTES
- By default this board will supply +3.3V to the TinyDuino stack. It is possible to change this to only output 5.0V instead (with a max current of 50mA), by removing moving the 0 ohm resistor from the 3.3V position to the 5V position (requires advanced soldering skills).
- Rev 4 and later versions of the board have the receive and transmit LEDs, Rev 3 and earlier do not have these LEDs